


ALWAYS EARNING
We give you 10% back in rewards for every dollar spent on classes!
ALWAYS SAVING
Once you have $5 in reward points, you can apply them as a discount on future orders.
GOT IT, THANKS!
Questions? Contact us!
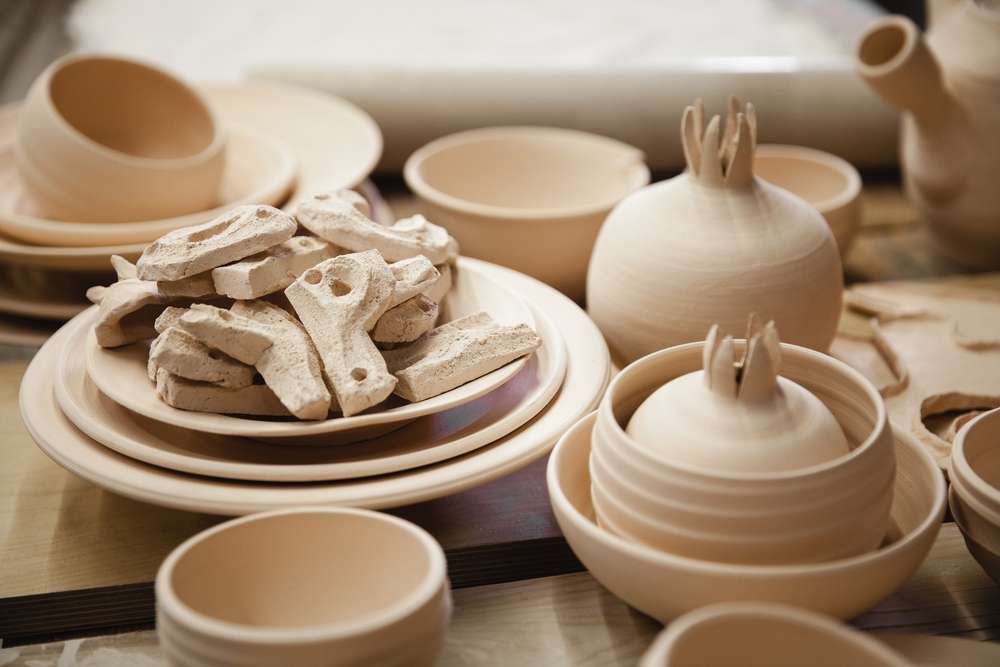
We can accomplish almost anything via computer these days, which makes the accomplishment of producing something with your own two hands that much sweeter.
Thus, we suggest venturing into the world of pottery for your next DIY project. The perfect candidate? A clay pot.
Here are three easy techniques, perfect for beginners, intermediates, and even those advanced wheel-throwers among us.
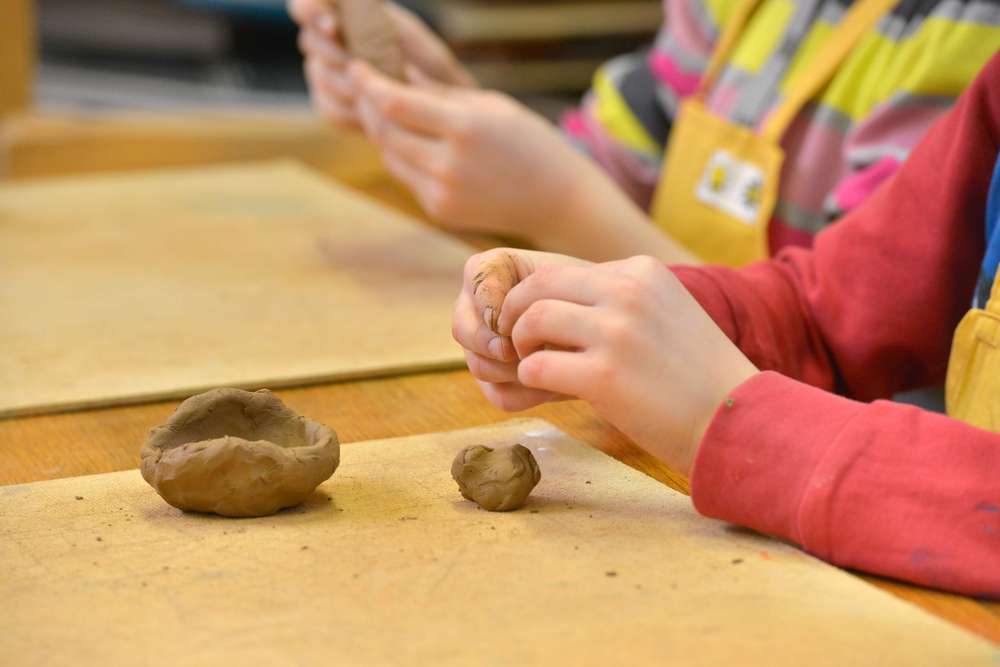
Even if you’ve never worked with clay before, these pinch pots are easy as pie.
Roll clay into an even ball.
Place the ball of clay in your left hand. Insert your right thumb into the center of the sphere, stopping about ½” from the bottom.
Widen the thumb hole gradually by continuously turning the sphere while you simultaneously pinch the sides.
Periodically smooth the walls and reshape the pot as you go.
When the pot has been shaped to your liking, flatten the bottom by placing it gently on a flat surface.
If desired, now is the time to add design elements like handles, or to carve patterns into the clay using toothpicks, plastic utensils, or clay tools.
Follow manufacturer’s instructions for drying or firing in a kiln.
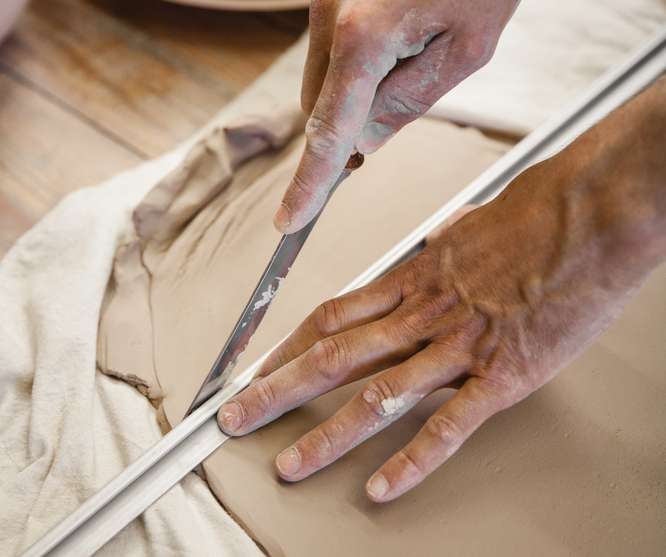
Also appropriate for beginners—but appropriately challenging for intermediates, too—coil pots utilize all kinds of fundamental pottery techniques.
Using a rolling pin or a slab roller, create a circular slab of clay around ¼” thick. This circular slab will become the base of your pot.
Pre-roll a number of clay “ropes” using your hands. These ropes will eventually become the coils that you stack to form the walls of your pot.
Place your first coil on the flat base, following the outermost edge. Trim any excess.
Stack succeeding coils on the base until you reach your desired height for the walls of the pot. Smooth and blend the coils with your fingers so that they’re seamlessly integrated.
To level the top, gently turn it over and tap it on a flat surface.
Follow manufacturer’s instructions for drying or firing in a kiln. We recommend letting your coil pot dry slowly, because the spaces between the coils are weak spots that can crack.

If you’ve mastered the art of hand throwing, now’s your time to tackle the wheel. Here’s how to spin up a “Ghost”-worthy pot.
Dry your wheel.
Knead your clay to remove any air bubbles, then form it into a ball.
Throw your ball of clay onto the dry wheel (it should stick), and press it into a conical shape.
Start spinning! Wet the clay, and move it to the center of the wheel with your hands.
Now it’s time to center. Re-wet your hands, then alternate between forming a cone and pressing it down into a flat disk. Repeat several times to condition the clay.
Begin forming your pot: Push your thumb into the center of the clay until it’s about ½” from the bottom (pinch-pot style). Gradually increase the size of the indentation by slowly pulling the finger you’re using towards the outer wall. Keep doing this until the wall of your pot has reached the desired thickness.
To remove the pot from the wheel, wet the wheel and draw a piece of wire or fishing line across the bottom.
Dry or fire in a kiln according to manufacturer’s instructions.

Get it first. Sign up for up-to-the-minute offers, sales and news.
Discover


ALWAYS EARNING
We give you 10% back in rewards for every dollar spent on classes!
ALWAYS SAVING
Once you have $5 in reward points, you can apply them as a discount on future orders.
Questions? Contact us!
Get special date and rate options for your group. Submit the form below and we'll get back to you within 2 business hours with pricing and availability.